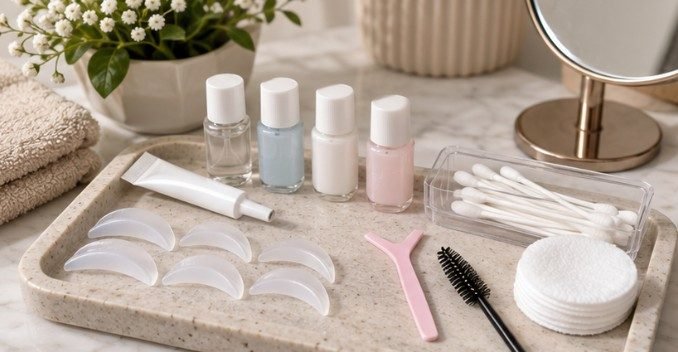
A lash tint can look like the easiest part of a DIY lash service, but in the United States it is actually the step that deserves the most caution. The FDA advises consumers not to dye or tint eyelashes at home and warns that permanent eyelash and eyebrow dyes have caused serious eye injuries. That makes eyelash lift and tint at home less of a single beauty routine and more of two different risk decisions.
A lash lift chemically reshapes your natural lashes into a more upward curve. A tint darkens them so they appear fuller without mascara. The appeal is obvious, but the eyelid and eye surface are sensitive, and both lift solutions and dyes can cause irritation or allergy if they migrate.
What a Lash Lift Actually Does
A lift is essentially a miniature perm for eyelashes. The first solution alters disulfide bonds in keratin so the hair can be reshaped over a silicone shield. A second solution then helps reform those bonds so the lashes hold the new position.
That chemistry is why timing matters. Overprocessing can leave lashes dry, kinked, frizzy, or brittle, while underprocessing can create an uneven result. Some systems use thioglycolate-related reducing agents and others use cysteamine-based chemistry; neither should be assumed harmless because the packaging says “gentle” or “conditioning.”
Why the Tint Changes the U.S. Safety Picture
This is the point many DIY tutorials miss. The FDA says consumers should not dye or tint eyelashes at home. It also says silver nitrate is permitted for coloring eyelashes and eyebrows only in professional-use cosmetics, under specific restrictions. Readers can review the agency’s detailed FDA eye cosmetic safety guidance for the current U.S. position.
A product being sold online does not automatically mean every intended use is permitted. Under U.S. rules, color additives used around the eye must be approved for that specific use.
Medical literature supports the concern. A PubMed-indexed case report described severe eyelid dermatitis and conjunctivitis after a permanent eyelash dye containing para-phenylenediamine, or PPD. The original study can be found through PubMed’s eyelash-dye case report. The American Academy of Dermatology also identifies PPD as a common cause of allergic contact dermatitis from hair dye. See its guidance on PPD-related contact allergy.
A Better At-Home Decision: Lift Only, Tint Professionally
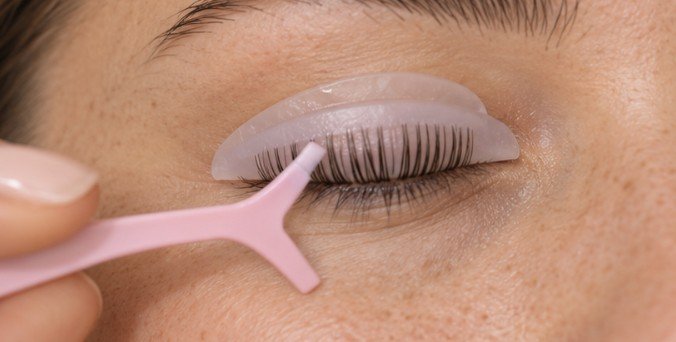
If you are determined to do a lift yourself, the lower-risk interpretation of current U.S. guidance is to separate the services: use only a kit specifically labeled for eyelash lifting and leave tinting to a trained professional using an appropriate professional product.
Read the full ingredient list and directions before starting. Skip the treatment if you have an eye infection, inflamed eyelid skin, unexplained redness, or a previous reaction to lash adhesives, hair dye, perming products, or similar cosmetics. The FDA specifically recommends avoiding eye cosmetics when the eye area is infected or inflamed. Remove contact lenses before working around the eyes.
A manufacturer-directed patch test may help identify some delayed skin reactions, but it cannot prove that a product will be safe on the eyelid or eye surface.
Safer Lift Workflow: Where Precision Matters
| Step | What to do | Why it matters |
| Prep | Remove makeup and oils with a gentle, oil-free cleanser; wash hands and dry the area. | Residue can interfere with adhesion and hygiene. |
| Shield | Choose a silicone shield that fits the eyelid and place it close to the lash line without touching the eye. | Poor fit can distort the curl or encourage product migration. |
| Position | Use the kit adhesive and a clean lash tool to separate lashes upward. | Crossed lashes can set into crooked shapes. |
| Lift solution | Apply only where the manufacturer directs and use the exact timing for that formula. | Generic internet timing can overprocess or underprocess lashes. |
| Setting solution | Remove the first solution as directed, then apply and time the setting step exactly. | This step helps lock in the new shape. |
| Finish | Remove residue, release the shield gently, and comb with a clean spoolie. | Pulling or rubbing can damage processed lashes. |
Many tutorials quote 10 to 15 minutes for the first solution and 10 to 12 minutes for the setting step. Treat those as examples, not universal instructions. Formula strength, lash condition, and manufacturer protocol differ.
That is also why copying a timing sequence from a video while using a completely different kit is risky. A few additional minutes can matter when chemically restructuring a very fine hair fiber only millimeters from the eye.
Aftercare Without the Myths
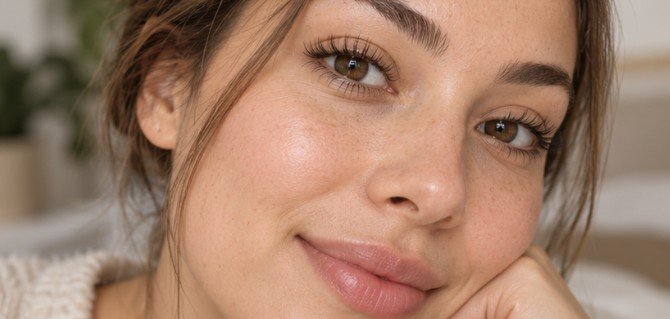
Many kits instruct users to keep lashes dry and free of mascara, steam, or oil-heavy products for roughly the first day. Follow your specific system rather than assuming every brand has the same aftercare window. Do not immediately repeat an uneven lift; reprocessing too soon can increase brittleness and breakage.
If lashes look sharply bent, frizzed at the tips, or unusually dry, stop adding chemical treatments. Conditioning can improve feel, but it cannot instantly reverse structural overprocessing.
Gentle brushing with a clean spoolie is usually enough for daily maintenance. Avoid tugging at the lashes with cotton pads or aggressively removing eye makeup, especially during the first days after processing.
What to Do if Product Gets in Your Eye
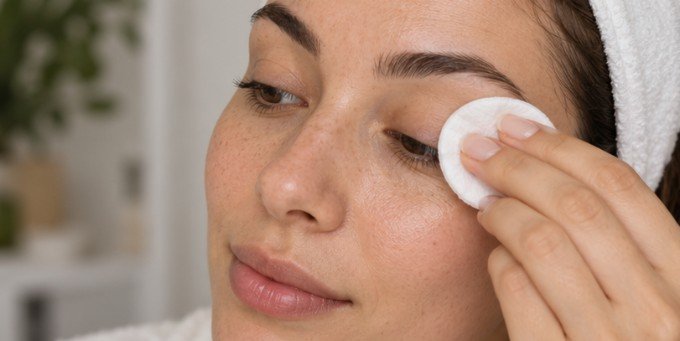
Chemical exposure requires immediate action. Poison Control advises rinsing an exposed eye right away with plenty of room-temperature water for at least 15 to 20 minutes and removing contact lenses. Its full eye-exposure first-aid instructions explain the rinsing process.
The American Academy of Ophthalmology’s EyeWiki likewise emphasizes immediate, copious irrigation for chemical eye injuries because reducing contact time can limit damage. See the =
If pain, redness, tearing, swelling, or blurred vision persists after rinsing—or symptoms are severe—seek urgent medical evaluation. Do not try to neutralize one chemical with another.
A Quick “Should I DIY This?” Test
A home lift is a poor choice if you cannot keep both eyes comfortably still, cannot read the full label, have a history of significant cosmetic reactions, or need to improvise because the instructions are unclear.
It is also a poor choice if the product is not specifically intended for eyelashes. A product designed for scalp hair should never be repurposed simply because its chemistry sounds similar.
For the tint portion, the decision is simpler in the U.S.: FDA guidance favors professional application rather than home use.
Frequently Asked Questions
1. Is eyelash lift and tint at home safe?
An at-home lift still carries irritation and overprocessing risks. For tinting, the FDA advises U.S. consumers not to dye or tint eyelashes at home.
2. How long does a lash lift last?
Results fade as treated lashes complete their natural growth and shedding cycle. Duration varies with lash growth, aftercare, product system, and processing.
3. Can I use regular hair dye on my eyelashes?
No. Hair dye is not interchangeable with products intended for the eye area. Products safe for scalp hair may be unsafe near the eyes.
4. What if my lash lift burns or stings?
Stop immediately. If product enters the eye, rinse with water for 15 to 20 minutes and seek urgent care if pain, swelling, redness, tearing, or vision changes persist.
The Smartest Result Is the One That Protects Your Eyes
The surprising truth about eyelash lift and tint at home is that the two services should not be treated as equally DIY-friendly. A carefully chosen lash-lift kit still demands precise placement, timing, hygiene, and respect for chemical exposure. Tinting crosses a clearer line: current FDA guidance tells U.S. consumers not to do it at home.
If your goal is darker, more lifted lashes with less daily mascara, the safest shortcut is not a faster tutorial—it is knowing which step belongs in your bathroom and which is better left to a trained professional.
Leave a Reply