I know how discouraging it feels to remove a manicure and discover nails that look thin, rough, flaky or painfully weak. Gel polish, acrylic enhancements and press-on nails can leave visible damage, especially when they are peeled, scraped or filed off improperly. Frequent handwashing, household chemicals and excessive buffing may make the problem worse.
When learning how to repair damaged nails, I start with realistic expectations. The existing nail plate is made from hardened keratin and cannot heal like living skin. However, I can protect it from further damage, reduce breakage and create better conditions for healthier growth. Consistent care matters more than expensive treatments or overnight promises.
Identify What Is Causing the Damage
A useful recovery plan begins by identifying the likely cause. Nails that become weak after gel or acrylic removal have usually experienced surface thinning or dehydration. Peeling at the tips can result from repeated wetting and drying, while splits may develop when longer nails catch on objects.
Common causes include aggressive filing, picking off polish, frequent acetone exposure, nail biting, harsh cleaning products and using fingernails to open containers. Artificial nails are not always damaging by themselves. Problems are more likely to occur when products are removed incorrectly or the natural nail is over-filed during preparation.
Not every nail change is cosmetic. Persistent yellowing, crumbling, swelling, pain, dark streaks or separation from the nail bed may require professional evaluation.
Keep Nails Short During Recovery
Long, weakened nails have more leverage against the nail bed and are more likely to bend or break. Trimming them short reduces pressure and removes thin edges before they split further.
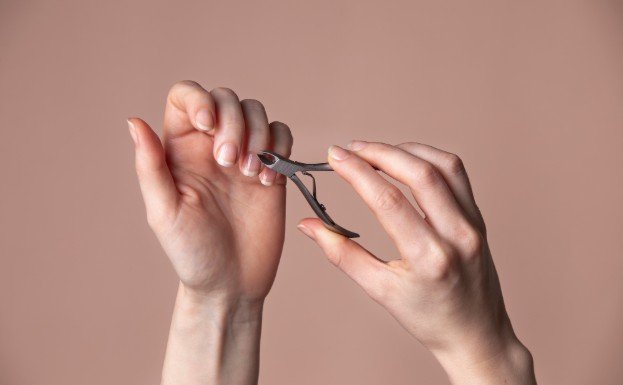
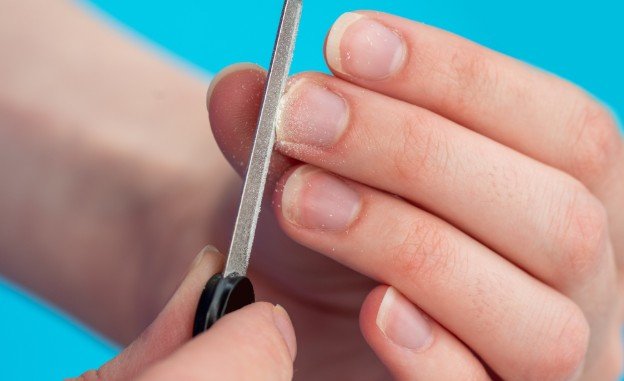
I use clean clippers and leave a small amount of white edge rather than cutting into the sensitive skin. I then smooth rough areas with a fine-grit or glass file. Filing in one direction can help prevent additional peeling, particularly when the free edge already feels fragile.
A rounded or gently squared shape is usually easier to maintain than sharp corners. I also avoid vigorous surface buffing because abrasion can make an already thin nail plate even weaker.
Moisturize Nails and Cuticles Every Day
Damaged nails commonly feel dry because repeated washing, polish removal and environmental exposure strip away protective oils. Regular moisturizing improves flexibility, making the nail less likely to crack under everyday pressure.
I apply cuticle oil around the base and sides of each nail, then massage it in gently. Oils containing jojoba or other lightweight emollients can soften dry skin and improve the appearance of rough cuticles. A fragrance-free hand cream applied afterward helps seal in moisture.
At night, I use a thicker cream or a small amount of petroleum jelly over the nails and surrounding skin. This simple layering technique is particularly helpful in dry weather or when frequent handwashing is unavoidable.
Cuticles should be moisturized rather than cut aggressively. They form part of the protective barrier around the nail, and damaging that barrier can increase irritation and infection risk.
Protect Your Hands From Water and Chemicals
Repeated wet-and-dry cycles cause the nail plate to swell and contract. Over time, this movement may weaken the bonds between its keratin layers, contributing to peeling and splitting.
Wearing gloves while washing dishes, cleaning bathrooms or handling detergents limits unnecessary exposure. Cotton-lined household gloves can be more comfortable for longer tasks because they reduce trapped moisture.
Hand sanitizer and frequent washing may also increase dryness. I do not avoid necessary hygiene, but I apply hand cream afterward whenever possible. Nails should be dried thoroughly after bathing, swimming or cleaning.
Take a Break From Nail Enhancements
Covering weak nails with another set of acrylics or gels may hide the damage without addressing it. A temporary break gives the fragile portion time to grow toward the tip without further filing, soaking or removal.
If polish is preferred, a conventional polish or protective base coat may be gentler than another enhancement system. However, any product causing burning, itching, redness or swelling should be removed and discontinued. These symptoms may indicate irritation or an allergy to nail-product ingredients.
Never peel off gel, acrylic or press-on adhesive. Professional removal is often the safest option. When removing polish at home, allow the remover enough time to dissolve the coating instead of scraping the surface.
Use Strengthening Treatments Carefully
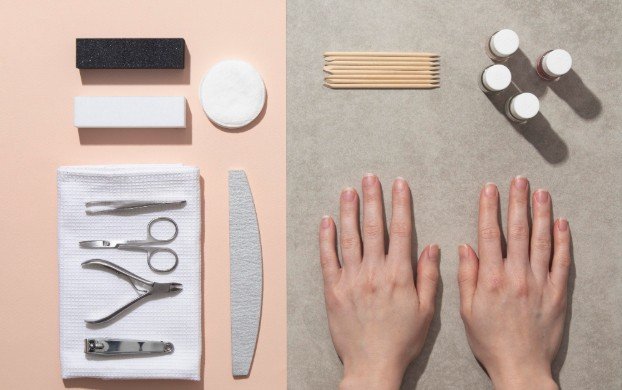
A nail strengthener or protective treatment can reduce bending and shield weak areas from daily friction. However, harder is not always better. An extremely rigid nail may snap instead of flexing, so treatments should be used according to their instructions.
Keratin treatments, ridge-filling base coats, and hydrating nail products may improve appearance and provide temporary protection. These nail care tips for healthy nails cannot permanently rebuild the damaged section, but they can help it remain intact while new nail grows.
Biotin is frequently promoted for brittle nails, yet it is not an instant solution, and the evidence is limited. Supplements can also interfere with certain laboratory tests. Anyone considering biotin, iron or another supplement should first discuss it with a qualified healthcare professional, particularly if a deficiency has not been diagnosed.
Follow a Simple 30-Day Recovery Routine
Week One: Stop the Damage
Remove enhancements safely, trim nails short and smooth any snagged edges. Begin applying cuticle oil and hand cream at least twice daily. Wear gloves for household chores.
Week Two: Build Consistency
Continue daily moisturizing and avoid using nails as tools. Watch for redness, lifting, discoloration or pain. Apply a protective base coat if the nails need additional support.
Week Three: Check New Growth
Look near the cuticle for smoother, healthier growth. The tips may still appear damaged because the old nail plate has not yet grown out. Continue filing away weak edges gradually rather than cutting too deeply.
Week Four: Prevent a Repeat
Evaluate which habits caused the original problem. If manicures resume later, choose careful preparation, proper curing and gentle professional removal. Continued protection is more effective than repeatedly repairing avoidable damage.
When to Consult a Dermatologist
Professional evaluation is appropriate when a nail becomes painful, swollen, warm or surrounded by pus. Medical advice is also important for persistent discoloration, deep horizontal grooves, nail lifting, unexplained dark lines or changes affecting several nails.
Nail abnormalities can occasionally be related to fungal infections, psoriasis, iron deficiency, thyroid conditions or other health issues. Cosmetic treatments should not be used to conceal a persistent or unexplained change.
Frequently Asked Questions
1. What is the fastest way to learn how to repair damaged nails?
Start by stopping the source of damage. Keep nails short, moisturize them daily, wear gloves around water and chemicals, and avoid gel or acrylic enhancements until stronger growth appears.
2. Can cuticle oil restore thin nails?
Cuticle oil cannot replace missing nail layers, but it can improve flexibility, reduce dryness and support the surrounding skin. Regular application may make fragile nails less likely to crack.
3. Should damaged nails be covered with polish?
A protective base coat or ordinary polish may reduce snagging, provided it does not cause irritation. Avoid repeatedly applying and removing products, and never cover signs of infection or unexplained discoloration.
4. Can severely damaged nails grow normally again?
In many cases, they can grow normally once repeated trauma stops. Damage to the nail-growth area may require medical attention, especially if growth remains distorted.
Final Thoughts
I have found that nail recovery is less about finding one miracle product and more about preventing repeated damage. Keeping nails short, moisturizing consistently, protecting my hands and removing enhancements correctly gives new growth the best opportunity to remain strong.
Patience is essential because the weakened section must gradually grow out. If symptoms become painful, unusual or persistent, I would consult a dermatologist instead of continuing to experiment with cosmetic treatments.
Leave a Reply