Few things are more disappointing than spending time on freshly polished nails only to discover a chip the following day. I used to assume that the polish formula was always responsible.
However, I learned that preparation, application, drying time, and everyday habits all affect durability. When I follow a complete routine for how to make a manicure last longer, my nails remain smoother, shinier, and more presentable without constant repairs.
Why Does a Fresh Manicure Chip So Quickly?
Nail polish adheres best to a clean, dry, and stable surface. Natural oil, hand cream, water, filing dust, and leftover remover can create a barrier between the nail and the base coat. The color may then lift around the cuticle or peel away in larger sections.
Application mistakes can cause similar problems. Thick coats may appear dry on the surface while remaining soft underneath. They can wrinkle, dent, or separate when pressure is applied. Painting over the cuticle or surrounding skin also creates an edge that can lift easily.
Daily activities matter as well. Repeated handwashing, cleaning chemicals, long showers, gardening, typing, opening packages, and scraping labels all place stress on a manicure.
Prepare the Nails Before Applying Polish
Remove Old Product and Surface Residue
Begin by removing every trace of old polish. After shaping and cuticle care, wipe each nail with an appropriate nail cleanser or a small amount of isopropyl alcohol on a lint-free pad. This removes surface oil and dust that could interfere with adhesion.
Avoid applying hand cream or cuticle oil immediately before painting. These products are useful after the manicure, but residue on the nail plate can make polish slide, streak, or peel prematurely.
Avoid Soaking the Nails
A traditional manicure may begin with a bowl of warm water, but prolonged soaking can work against polish durability. Nails absorb water and temporarily expand. As they dry, they return to their usual size, while the hardened polish does not contract in exactly the same way. This movement can contribute to early cracking or lifting.
If the cuticles need softening, use a dedicated cuticle softener and follow its directions. Make sure the nails are completely clean and dry before applying the base coat.
Shape and Manage Cuticles Carefully
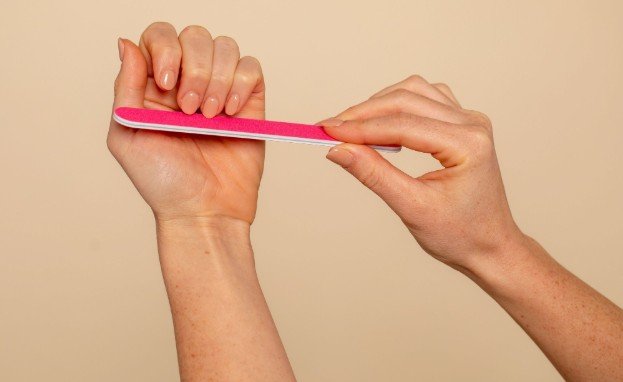
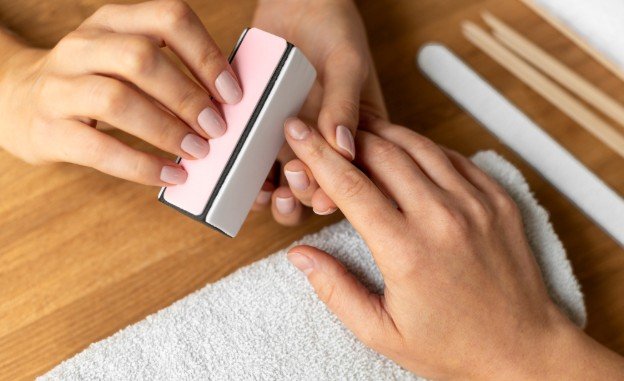
Smooth rough tips with a fine nail file so they are less likely to snag. Rounded or softly squared edges generally have fewer sharp corners that can catch on clothing and other objects.
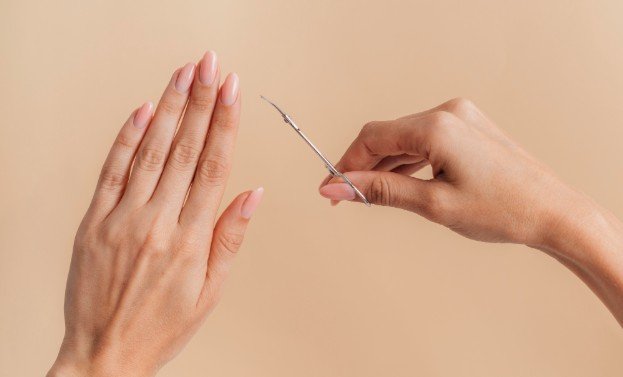
Gently push back visible cuticle tissue instead of aggressively cutting it. Removing too much living tissue can cause soreness and increase the possibility of infection. Polish should be applied to the nail plate rather than onto the cuticle.
Build Thin, Durable Polish Layers
Use a Suitable Base Coat
A base coat creates a more consistent surface, improves color adhesion, and helps prevent staining. Choose one suited to the condition of the nails. A ridge-filling formula can smooth uneven texture, while an adhesion-focused product may suit nails on which polish regularly peels.
Products designed as a system often perform best together. To prevent nail polish from chipping, avoid mixing incompatible base coats, colors, and top coats, as this can sometimes cause shrinking, bubbling, or peeling.
Apply Two Thin Coats of Color
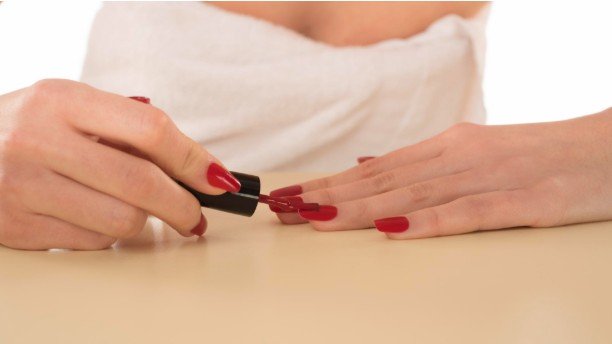
Remove excess lacquer from one side of the brush. Place the brush slightly above the cuticle and guide the color toward the tip using a few controlled strokes. Keep the polish away from the surrounding skin.
Two thin color coats normally provide better durability than one heavy coat. Allow the first layer time to settle before adding the second. If the polish is thick and difficult to spread, use an appropriate polish thinner rather than ordinary remover, which may alter the formula.
Seal the Free Edge
After covering the main surface, lightly sweep the brush across the exposed tip of the nail. This technique, often called capping the free edge, places polish over an area that experiences considerable friction.
Cap the tip lightly with the color and top coat. Avoid creating a bulky ridge because an excessively thick edge may take longer to set and can still chip.
Finish With Top Coat
A top coat adds shine and creates a protective layer over the color. Cover the entire painted surface and seal the tip. Some traditional polish systems also benefit from another thin top-coat application after two or three days. Follow the directions for the particular system rather than automatically layering incompatible products.
Allow the Manicure to Set Properly
Polish can feel dry on the surface while remaining vulnerable underneath. Avoid showering, washing dishes, exercising, or completing hands-on work immediately after painting.
A cool fan may help the surface dry, but intense heat is not a reliable shortcut. Avoid blowing directly on the nails, placing them near a heater, or using very hot water. Give the manicure as much undisturbed setting time as possible.
Protect the Finish During Daily Activities
Wear protective gloves when washing dishes, cleaning, gardening, or handling products that may affect the finish. Gloves reduce prolonged contact with water and cleaning agents.
Use the pads of the fingers instead of the nails to open containers, press buttons, or remove labels. Nails are decorative protective structures, not tools. Even a well-applied coating can break when it is repeatedly used for prying and scraping.
Apply cuticle oil and hand cream regularly after the manicure has set. Hydrated skin looks neater, while flexible nails may be less likely to split beneath the polish.
What Different Types of Damage Can Mean
Wear along the tips commonly results from friction or an edge that was not sealed. Peeling near the cuticle may indicate remaining oil or polish applied over the skin. Dents and wrinkles often develop when coats are too thick or have not received enough setting time.
Large sections peeling away can indicate moisture, incompatible products, or a peel-off base coat. Cracks across the surface may appear when thick, rigid layers are applied over flexible nails. Identifying the damage pattern makes it easier to correct the routine next time.
How to Repair a Small Chip
Do not pull at a chipped area because this can remove more polish and sometimes disturb the surface of the natural nail. Smooth a rough tip carefully if necessary. Apply a small amount of matching color to the exposed section and allow it to settle.
Add another thin layer if the repair remains uneven. Once dry, cover the entire nail with top coat to blend the edges and restore shine. Extensive lifting, moisture beneath an enhancement, pain, discoloration, or swelling requires removal and appropriate professional advice rather than a cosmetic patch.
Frequently Asked Questions
1. How long should a regular manicure last?
Traditional polish commonly remains presentable for several days, although wear depends on nail condition, application, products, work, and water exposure. Proper preparation and protection can improve the result.
2. Does cuticle oil make polish peel?
Oil can interfere with adhesion when applied before painting and left on the nail plate. Once the manicure has set, carefully applied cuticle oil can support flexibility and improve the surrounding skin.
3. Can I apply top coat every day?
Daily application is usually unnecessary and may create thick, uneven layers. For compatible traditional polish, a thin refresh every two or three days is often sufficient.
4. What is the best advice for how to make a manicure last longer?
Start with clean, dry nails, apply compatible products in thin layers, seal the tips, allow adequate setting time, and protect the finish from water, chemicals, and unnecessary pressure.
Final Thoughts
I now treat manicure durability as a complete process rather than a single product claim. Careful preparation gives the base coat something clean to grip, thin layers dry more evenly, and sensible aftercare limits avoidable damage. Although no manicure remains perfect indefinitely, these habits help me achieve a cleaner finish and enjoy it for considerably longer.
Leave a Reply