I used to blame the polish whenever my manicure chipped within a day or two. However, I eventually realized that nail preparation, application technique, drying time, and daily habits mattered just as much as the formula. Once I understood how to prevent nail polish from chipping, I could make an ordinary at-home manicure look smoother and remain presentable for much longer.
Long-lasting results do not come from applying more product. They come from creating a clean surface, using controlled layers, sealing vulnerable areas, and protecting the finish while it hardens.
Why Nail Polish Chips So Quickly
Nail polish dries into a firm film, but the natural nail beneath it remains flexible. When the nail bends, absorbs water, or hits a hard surface, the polish may crack or separate.
Oil, hand cream, water, dust, and old polish residue can weaken adhesion. Thick coats are another common problem because the surface may feel dry while the lower layers remain soft. Polish can also lift when it touches the cuticle or surrounding skin.
The location of the damage often reveals the cause. Wear along the tips usually comes from friction or an unsealed edge. Peeling near the cuticle may indicate surface oil or polish touching the skin.
Dents and wrinkles normally mean the layers were too thick or had not dried sufficiently. However, persistent changes may be among the fingernail problems not to ignore, especially when accompanied by pain, swelling, discoloration, or separation from the nail bed.
Prepare the Nails Before Painting
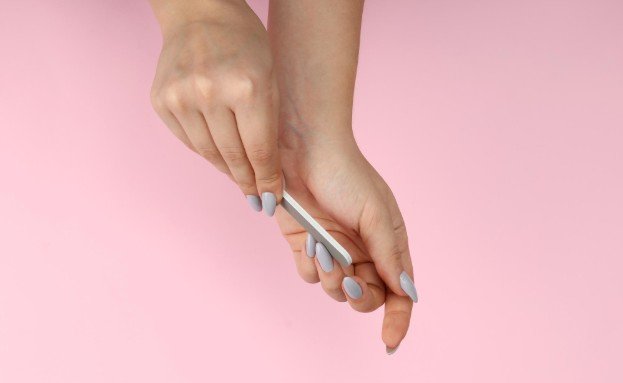
Preparation gives polish a stable surface to grip. Begin by removing every trace of old color. Shape the nails and smooth rough edges that might catch on clothing or hair.
Buff only when necessary and use a light touch. Excessive buffing can thin the nail plate, making it more flexible and likely to bend beneath the polish.
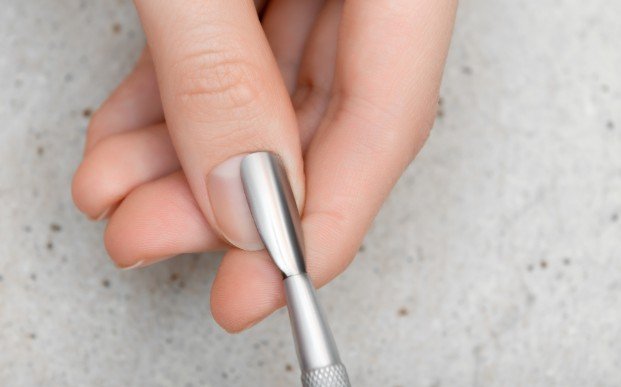
Carefully push back the cuticles and remove dead tissue attached to the nail plate. Avoid cutting living skin around the nail because this can cause irritation or injury. Polish applied over cuticle tissue is likely to lift as the skin moves.
Complete showers, baths, dishwashing, and other water-based activities before beginning. Natural nails can absorb water and temporarily expand. If they are painted while holding moisture, the polish may separate as the nails dry and return to their usual shape.
Immediately before applying the base coat, wipe every nail with an appropriate nail cleanser or polish remover. This removes oil, lotion, dust, and remaining residue. Avoid touching the cleaned nail surfaces afterward.
Apply a Suitable Base Coat
A base coat creates a surface to which colored polish can adhere. It can also reduce staining and help smooth minor imperfections.
Choose one suited to the condition of your nails. A bonding base may help when polish regularly peels from otherwise healthy nails. A ridge-filling formula can improve an uneven surface, while a compatible strengthening treatment may support weak nails.
Do not assume that a clear top coat can replace a base coat. These products perform different jobs. Apply one thin base layer over the entire nail, leaving a narrow space around the cuticle and sidewalls.
Use Thin, Controlled Color Layers
Thick polish takes longer to dry and is more likely to dent, wrinkle, or peel. Two thin color coats generally produce a smoother and more durable finish than one heavy coat.
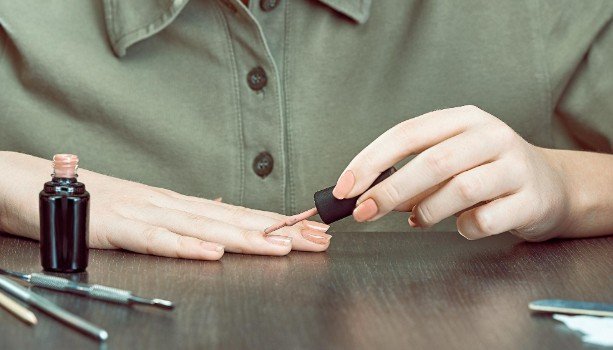
Remove excess lacquer from one side of the brush. Place the brush slightly above the cuticle and guide the color toward the tip using a few controlled strokes. Keep the polish away from the surrounding skin, especially if you are using ciclopirox topical for a fungal nail infection, because it should be applied according to its prescribing instructions rather than treated like cosmetic polish.
Give each layer time to set before adding the next. Drying time varies according to the formula, room temperature, humidity, and thickness. If the brush drags the previous coat or creates bare patches, wait longer.
Instead of shaking the bottle aggressively, roll it gently between your palms. Vigorous shaking can introduce air bubbles that may appear as bumps in the finished manicure.
Seal the Free Edge
The free edge is the part of the nail extending beyond the fingertip. It receives frequent impact from typing, cleaning, opening containers, and other daily activities.
After painting the nail surface, lightly sweep the brush across the tip. This process is called capping or wrapping the edge. Repeat it with the top coat to create a continuous protective layer around the most vulnerable area.
Use only a small amount of product. A thick ridge at the tip may take longer to dry and can chip more easily. Short nails can still be capped by using the narrow side of the brush.
Finish With Top Coat
The top coat protects the colored layers from scratches, moisture, and ordinary wear. Apply it across the painted surface and over the free edge without allowing it to flood the cuticles.
Quick-dry formulas can help the surface set sooner, but the lower layers still need time to harden. Treat the manicure carefully even if it feels dry when lightly touched.
A fresh, thin layer of top coat every two or three days may restore shine and reinforce exposed areas. Avoid repeatedly adding heavy layers because excessive product can make the manicure look bulky and crack unevenly.
Allow Enough Drying Time
One of the easiest ways to damage fresh polish is to resume normal activities too quickly. Allow enough drying time before you moisturize nails and cuticles, and avoid hot showers, baths, dishwashing, tight footwear after a pedicure, and tasks requiring pressure from the fingertips.
Quick-dry drops or cool air may help the surface set, but they cannot fully correct thick application. Schedule the manicure for a time when you will not immediately need to cook, clean, pack bags, or handle small objects.
Protect the Manicure Every Day
Wear gloves while washing dishes, gardening, or cleaning with household products. Repeated exposure to water can encourage the nail to expand and contract, while detergents may dry the nails and surrounding skin.
Use your fingertips rather than your nails to open cans, scrape labels, separate key rings, or press stiff buttons. Even a carefully applied manicure can chip when the nails are treated like tools.
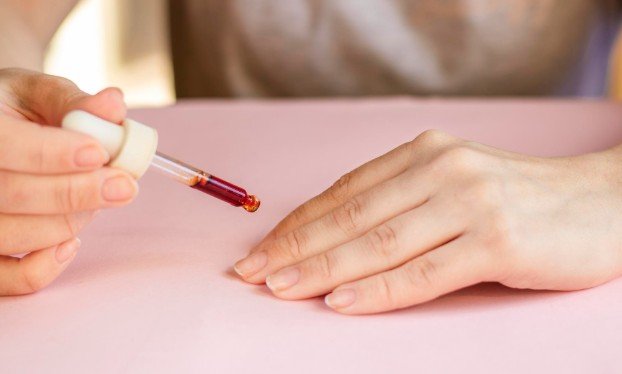
Once the polish has hardened, apply cuticle oil regularly. Hydrated nails are generally more flexible and less likely to split or peel beneath the color. Keep oil away from bare nails immediately before a new application.
Troubleshoot the Chipping Pattern
When polish disappears from the tips, smooth rough edges and improve free-edge sealing. If it lifts around the cuticles, remove surface oil more thoroughly and leave a clearer gap between the polish and skin.
Whole sections peeling away can indicate moisture, incompatible products, or the use of a peel-off base coat. Cracks across the surface may result from thick layers applied over flexible nails. Dents usually show that the manicure needed additional drying time. The easiest way to do a nail treatment is to remove the polish gently, moisturize the nails and cuticles, and give damaged nails time to recover before applying another manicure.
If the natural nails are peeling or badly damaged, shortening them and improving their condition may be more effective than repeatedly covering them with harder products.
Frequently Asked Questions
1. What is the easiest way to learn how to prevent nail polish from chipping?
Follow a complete routine: clean and dry the nails, apply a base coat, use thin color layers, seal the tips, add top coat, allow adequate drying time, and protect the manicure from water and impact.
2. How many coats of nail polish should I apply?
Two thin color coats are usually sufficient. A sheer shade may require a third coat, but each layer should remain light and be given enough time to set.
3. Can I use cuticle oil before painting my nails?
Cuticle oil is helpful between manicures, but it should be removed from the nail plate before applying polish. Use it again after the finished manicure has fully hardened.
4. Why does my polish chip after one day?
Possible causes include surface oil, moisture, thick coats, insufficient drying, polish touching the skin, unsealed tips, or frequent contact with water and cleaning products.
Final Takeaway
I have found that a lasting manicure depends on small decisions made throughout the process. Careful preparation, thin layers, sealed edges, patient drying, and sensible protection work together better than relying on one special product.
When my polish chips, I now examine where the damage started. That usually tells me whether I need to improve preparation, application, drying, or aftercare. With a consistent routine, regular polish can remain smooth, glossy, and attractive for considerably longer.
Leave a Reply