Glasses can frame the face beautifully, but they can also leave two obvious bare patches where the nose pads or bridge rest. I have found that the best fix is not adding more foundation. It is reducing product at the contact points, controlling oil, and creating a thin base that can handle pressure.
For makeup for glasses without foundation rubbing off, I treat the nose differently from the rest of the face and focus on grip rather than coverage.
Why Does Foundation Rub Off Under Glasses?
Foundation usually breaks down because pressure, movement, facial oil, sweat, sunscreen, and skincare combine under the frames. Small movements create friction, while oil makes the surface more slippery. A thick layer gives the glasses even more product to pick up.
This becomes especially noticeable during hot US summers or humid weather when the T-zone gets oilier. I keep the nose bridge lighter and drier.
How Should I Prep My Nose Before Makeup?
I apply skincare and sunscreen, but I use less around the nose bridge. Dry skin still needs moisture, so I do not skip moisturizer. I simply avoid leaving a greasy layer where the frames will sit.
After letting skincare settle, I blot any shine. Then I apply a very thin layer of gripping or oil-controlling primer to the contact points.
Can Eyeshadow Primer Stop Makeup From Rubbing Off?
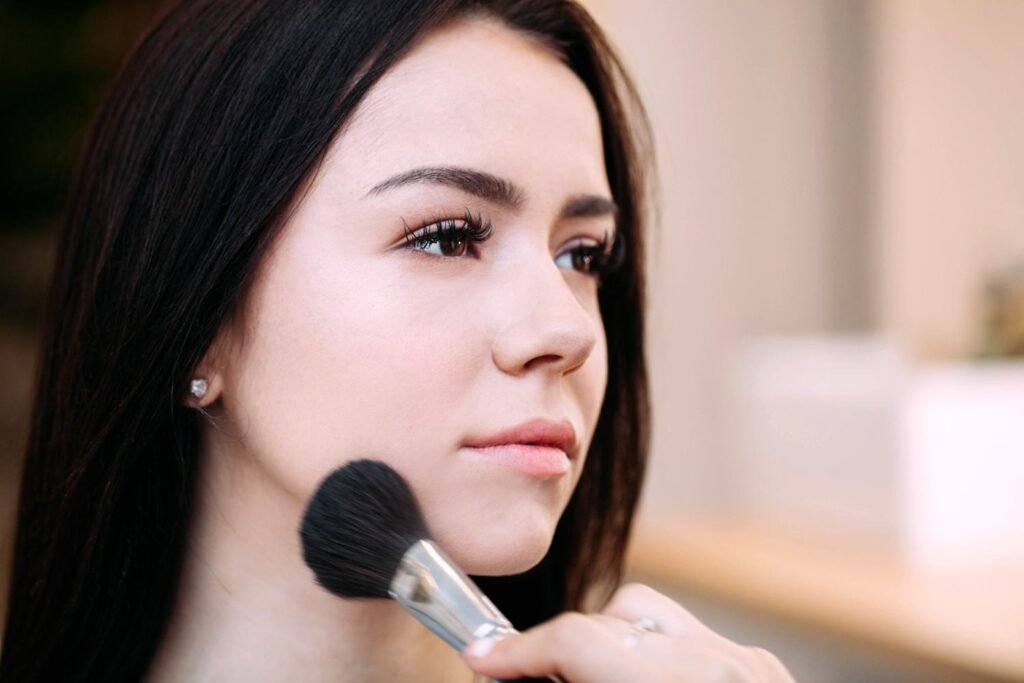
A tiny amount of matte, non-sticky eye primer can help where nose pads rest. Because eye primer is designed to grip pigment and resist oil, it can work as a targeted barrier. I keep the layer thin because too much primer can pill or create buildup.
Should I Skip Foundation Where My Glasses Touch?
If foundation always disappears from the same spots, I use almost none there. I apply my regular base elsewhere and use only the leftover product on my sponge around the nose.
If redness still shows, I use a micro-layer of concealer instead of another coat of foundation. Less product means less makeup for the frames to lift.
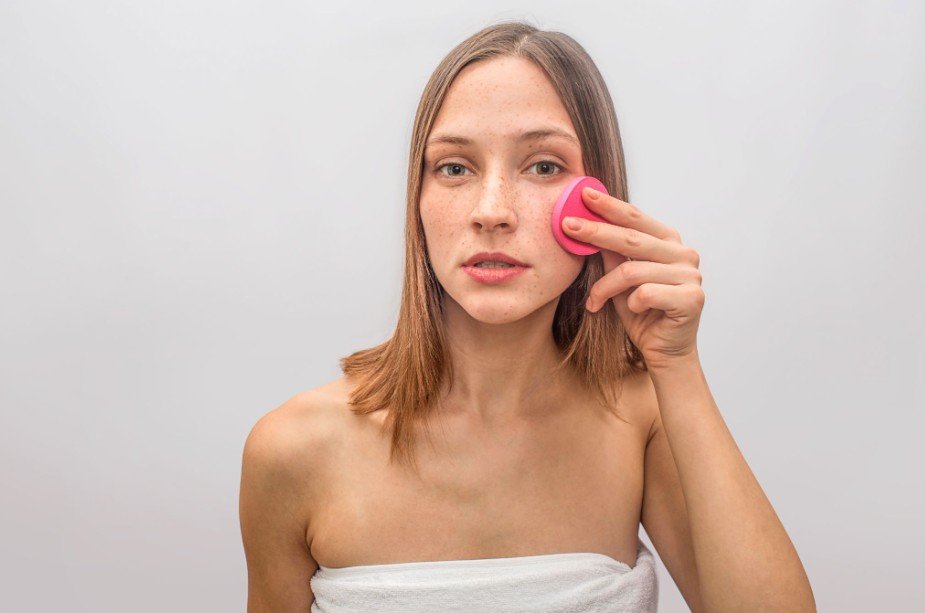
Next, I press a clean, damp makeup sponge over the bridge and sides of my nose without swiping. This lifts excess fluid and leaves a thinner layer before setting.
How Do I Set Nose Makeup Without Making It Cakey?
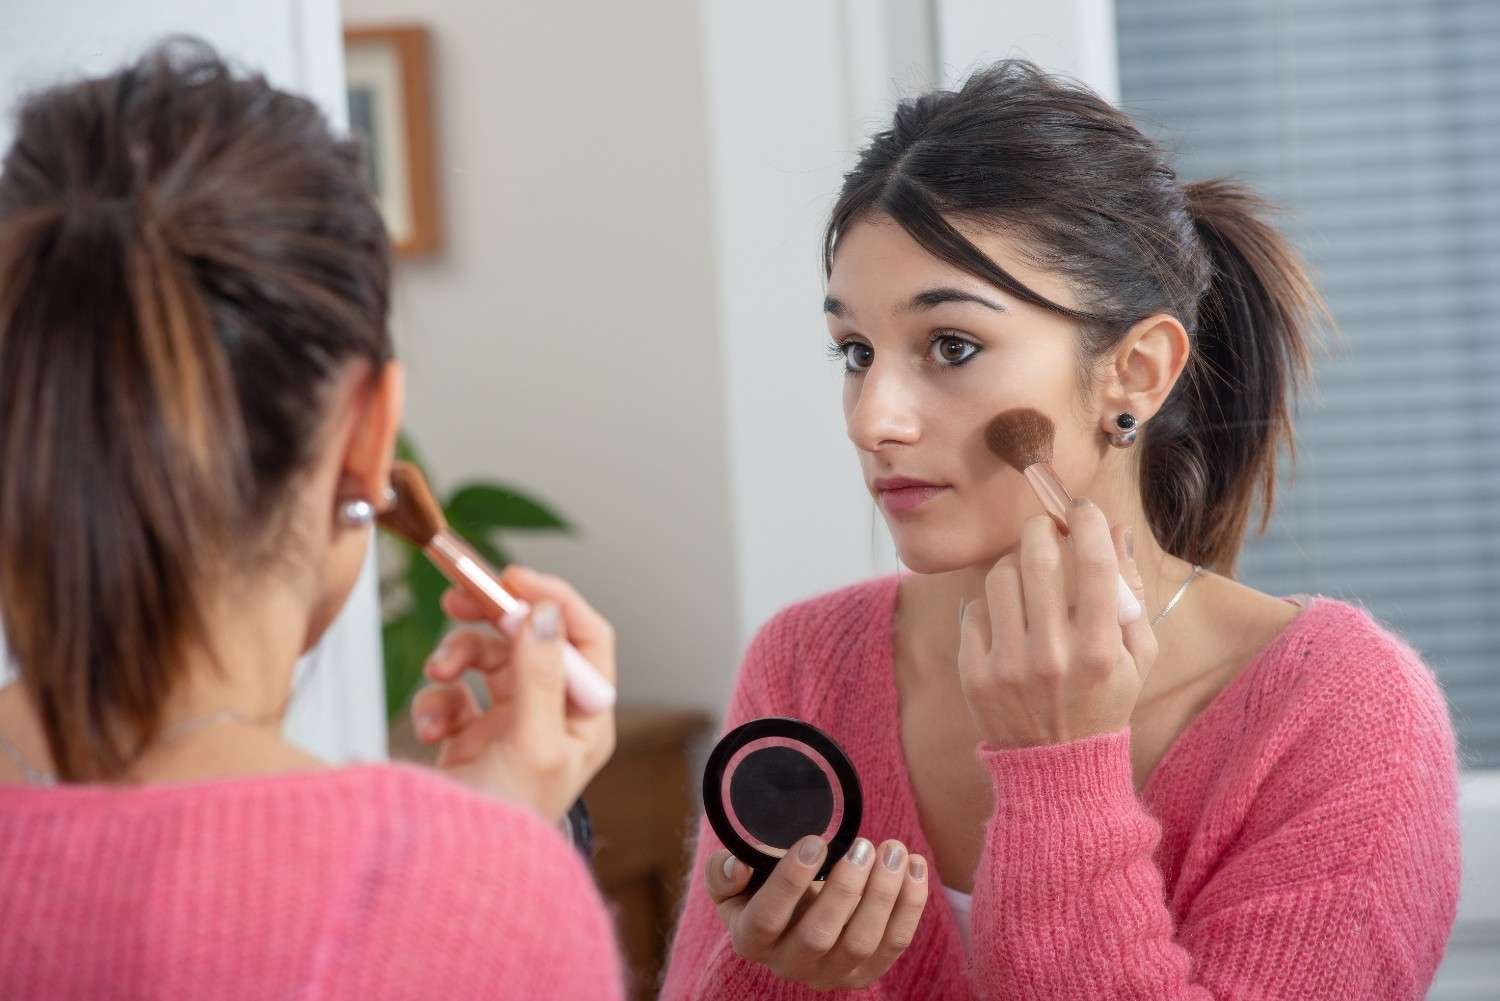
For normal or dry skin, I press a small amount of translucent setting powder into the contact areas with a puff. If my nose is very oily or transfer is severe, I may bake the area by applying more powder, letting it sit briefly, and brushing away the excess. I use this selectively because heavy baking can emphasize dryness and texture.
I finish with setting spray and let it dry completely before putting my glasses back on. Setting spray can improve longevity, but it cannot compensate for thick foundation or constant frame movement.
Should I Put Powder on My Glasses Nose Pads?
Some beauty tutorials recommend tapping a tiny amount of setting powder onto clean nose pads to create a drier contact surface. I consider this optional rather than essential.
I also keep the pads and bridge clean because oil, sunscreen, and old makeup can transfer back onto fresh makeup. While alcohol in everyday life is commonly used for cleaning and disinfecting, I would use rubbing alcohol on eyewear only if the frame or nose-pad manufacturer confirms the material is alcohol-safe. Otherwise, I follow the eyewear maker’s cleaning instructions.
How Do I Stop an Oily Nose From Ruining My Makeup?
When shine appears, I blot first rather than immediately adding more powder. This removes surface oil without creating a thick mix of oil, foundation, and powder. After blotting, I press on a small amount of powder only if necessary.
How Do I Fix Foundation After My Glasses Rub It Off?
I do not apply fresh foundation directly over an oily, separated patch. I blot the area, smooth the edges, then press a tiny amount of concealer or foundation into the bare spot and set it lightly.
If my glasses constantly slide down, I also have the fit checked by an optician. Repeatedly pushing frames back into place creates more friction, while very tight frames can leave deeper marks.
What Eye and Face Makeup Works Best With Glasses?
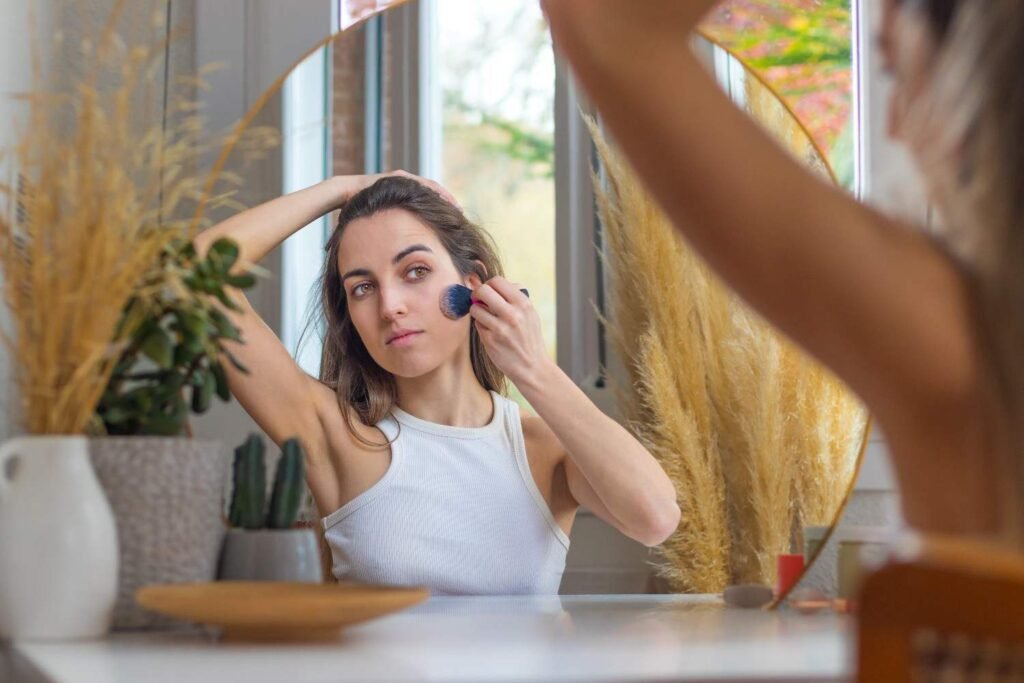
Glasses can cast shadows under the eyes, so I use a light layer of brightening concealer instead of heavy coverage that may crease. I place blush slightly higher on the cheekbones rather than too close to the nose.
For lashes, I curl them before mascara and favor definition and volume over extreme length so they are less likely to brush the lenses. These adjustments keep the look balanced around the frames.
Frequently Asked Questions (FAQs)
1. How do I stop foundation from rubbing off on my glasses?
Use very little foundation where the frames touch, let skincare absorb, apply a thin primer, lift excess makeup with a damp sponge, and press setting powder into the contact points.
2. Can I use concealer instead of foundation under nose pads?
Yes. A micro-layer of concealer can cover redness while leaving less product for the frames to disturb.
3. Why do my glasses leave marks after I set my makeup?
Pressure, friction, oil, sliding frames, or too much product can still create marks even when makeup is powdered.
4. Do I need to bake my nose when wearing glasses?
No. Lightly pressed setting powder works for many people. Baking is better reserved for very oily skin or stubborn transfer.
Final Thoughts
The most effective approach is built around strategic placement. I use lighter skincare on the contact area, a thin gripping primer, minimal foundation, a damp sponge to remove excess, and targeted powder according to my skin type. These small adjustments also help make makeup that last all day by reducing unnecessary buildup in areas where products are most likely to shift.
I also keep my frames clean, let setting spray dry fully, blot oil before touching up, and check the glasses fit if they constantly slide. When I want makeup for glasses without foundation rubbing off, reducing friction and excess product gives me a smoother, more natural result than simply adding more layers.